Designing an indoor sauna is one of the most rewarding home improvement projects you can undertake. It's not just about creating a space to relax—it's about crafting a personal wellness sanctuary that fits seamlessly into your home. Over the years, I've helped countless homeowners navigate the design process, and I've learned that thoughtful planning makes all the difference between a sauna that's merely functional and one that becomes your favorite room in the house.
Let's walk through everything you need to know to design your perfect indoor sauna, from initial space assessment to the finishing touches that make it uniquely yours.
Understanding Indoor Sauna Design Fundamentals
Before diving into specifics, it's essential to understand what makes a sauna work effectively. A well-designed indoor sauna creates an environment where heat is distributed evenly, humidity can be controlled, and users feel comfortable and safe. This requires careful attention to several key elements.
The Three Pillars of Sauna Design
Every successful sauna design rests on three fundamental pillars: proper insulation, adequate ventilation, and thoughtful layout. Get these right, and everything else falls into place. Neglect them, and you'll end up with an inefficient, uncomfortable space that doesn't deliver the sauna experience you're hoping for.
Space Planning and Dimensions
The first question most people ask is, "How much space do I need?" The answer depends on how many people will use it and where you're installing it.
Minimum Size Requirements
For a single person or couple, you can work with as little as 4 feet by 4 feet (16 square feet). This provides enough room for one bench and basic movement. However, I typically recommend starting at 5 feet by 6 feet (30 square feet) for a more comfortable experience.
| Sauna Size | Dimensions | Capacity | Best For |
|---|---|---|---|
| Compact | 4' x 4' | 1-2 people | Personal use, tight spaces |
| Standard | 5' x 6' to 6' x 6' | 2-3 people | Couples, small families |
| Family | 6' x 8' to 7' x 8' | 4-5 people | Families, entertaining |
| Luxury | 8' x 8' or larger | 6+ people | Premium installations |
Layout Considerations
The shape of your sauna matters almost as much as the size. Rectangular designs (like 5x7 or 6x8) typically work better than square ones because they allow for more efficient bench arrangement. You want to maximize sitting space while maintaining proper clearances around the heater.

Material Selection: Building for Longevity
The materials you choose for your sauna will affect everything from aesthetics to maintenance to longevity. This is where I see people make the biggest mistakes, often choosing materials based solely on cost without considering long-term performance.
Wood Species Comparison
Cedar remains the gold standard for indoor saunas. Its natural oils resist moisture and decay, it smells amazing, and it maintains its appearance beautifully over time. Western Red Cedar is particularly popular, though it's pricier than other options. Expect to pay $3-6 per linear foot for quality cedar paneling.
Hemlock offers a more budget-friendly alternative with a lighter color that some people prefer. It's less aromatic than cedar but still performs well in sauna environments. It's also easier to source in some regions. Figure on $2-4 per linear foot.
Aspen is my recommendation for anyone with wood sensitivities. It's virtually odorless and stays cooler to the touch than other woods, making it comfortable for direct skin contact even at high temperatures. It's generally priced similarly to hemlock.
"The right wood choice isn't just about budget—it's about creating an environment where you'll actually want to spend time. I've seen people save money on materials only to find they don't enjoy using their sauna because the wood feels or smells wrong to them." - Based on client feedback and industry experience
Insulation and Vapor Barriers
This is where good design separates itself from great design. Your sauna needs substantial insulation—much more than a typical room. I recommend R-13 to R-19 for walls and R-19 to R-30 for ceilings.
The vapor barrier is equally critical. It goes on the warm side of the insulation (between the insulation and interior paneling) to prevent moisture from migrating into the insulation where it could cause mold or rot. Use aluminum foil or commercial vapor barrier products, and seal all seams with aluminum tape—not regular duct tape, which will fail in the heat.
Ventilation Design: Often Overlooked, Always Important
Even though saunas are hot, enclosed spaces, they still need fresh air. Proper ventilation ensures comfort, safety, and extends the life of your sauna. Yet this is one of the most commonly overlooked aspects of sauna design.
The Airflow Pattern
You want to create a gentle circulation that brings fresh air in near the heater (where it gets warmed) and allows stale air to exit near the floor or lower on the opposite wall. This pattern maintains oxygen levels without creating uncomfortable drafts.
A typical ventilation setup includes:
- An intake vent near the floor, below or beside the heater (about 6 inches above floor level)
- An exhaust vent on the opposite wall, near the floor or through the ceiling
- Adjustable vents so you can control airflow

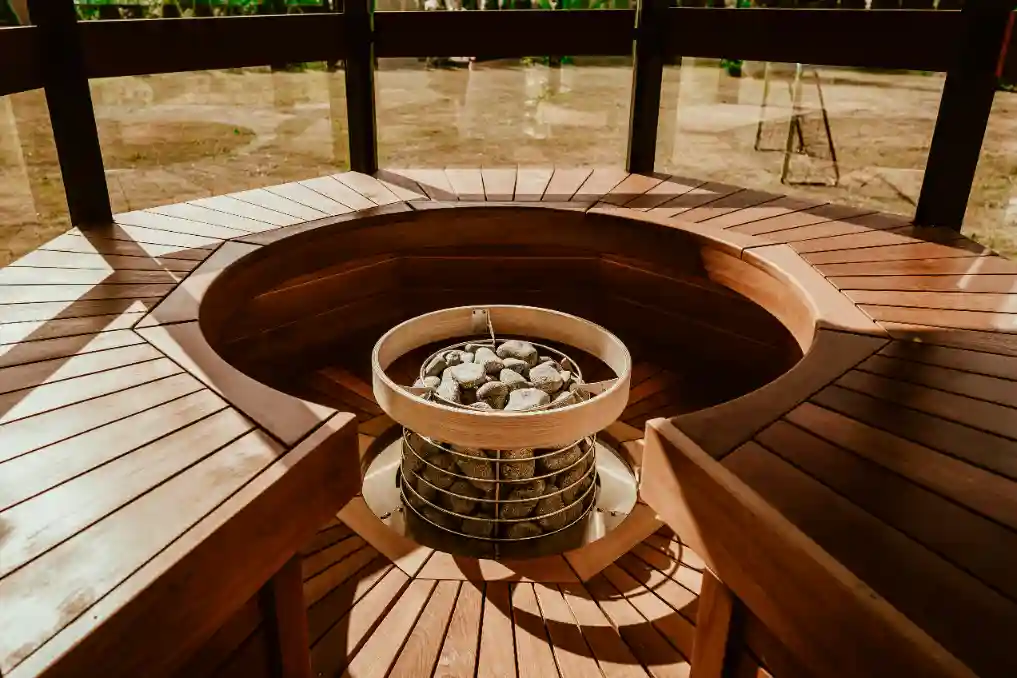
Heating System Placement
Your heater placement affects both safety and comfort. Electric heaters (the most common for indoor installations) need specific clearances from walls and benches—typically 6-8 inches from walls and at least 18 inches from bench surfaces. Check your heater's specifications for exact requirements.
Position the heater where it won't be accidentally touched by people entering or exiting. The most common placement is along a wall adjacent to the door, positioned so users face away from it while seated. This provides even heat distribution without making anyone uncomfortable from direct radiant heat.
Electrical Considerations
Most indoor sauna heaters require 240V power, similar to an electric dryer. Understanding your electrical requirements early in the design process is crucial, as running new circuits can significantly impact your budget and timeline. Always work with a licensed electrician for this portion of the project.
Bench Design and Layout
Benches are where you'll actually spend your sauna time, so their design deserves careful thought. The standard bench depth is 18-24 inches, which allows for comfortable sitting or lying down.
Bench Configuration Options
Two-tier benches are the classic choice. The upper bench (where it's hottest) should be at least 6 inches below the ceiling to leave room for your head. The lower bench provides a cooler option and can double as a step.
L-shaped configurations work beautifully in square or rectangular spaces, maximizing seating while maintaining open floor space for entry and movement.
Single-tier benches can work in smaller saunas or when you're prioritizing ease of construction. Just make sure they're positioned high enough (around 36-40 inches from the floor) to take advantage of the warmest air.
Door Selection and Placement
Your sauna door should open outward for safety reasons. If someone becomes uncomfortable, they should be able to exit quickly without worrying about a stuck door. Glass doors are increasingly popular because they make the space feel larger and less claustrophobic, though traditional solid wood doors work perfectly fine.
Standard sauna door dimensions are 24 inches wide by 72 inches tall, though you can go up to 28 inches wide for easier access. Whatever size you choose, make sure the door frame is properly sealed to prevent heat loss.
Lighting and Electrical Fixtures
Lighting in a sauna serves both practical and aesthetic purposes. You need enough light to see safely, but harsh, bright lighting ruins the relaxing atmosphere. I recommend warm-toned LED lights rated for sauna use (they must handle the heat and humidity).
Position lights in corners or behind protective covers where they won't be touched. Some people love strip lighting under benches for a spa-like ambiance. Whatever you choose, make sure all electrical fixtures are properly rated for the environment and installed by a professional.
Flooring Considerations
Sauna flooring needs to handle heat, moisture, and foot traffic. Ceramic or porcelain tile is my top recommendation—it's durable, easy to clean, and stays reasonably comfortable underfoot. Wood planking works too, though it requires more maintenance.
Whatever material you choose, ensure there's a slight slope toward a drain if you plan to rinse down the sauna regularly. Even if you don't install a drain initially, planning for one gives you flexibility down the road. For more on this topic, check out whether drainage systems enhance sauna safety and maintenance.

Design Aesthetics: Making It Yours
While functional considerations come first, aesthetics matter too. Your sauna should feel like a retreat, not just a hot box. Consider these aesthetic elements:
- Wood tone: Do you prefer the warm, reddish tones of cedar or the lighter, more neutral look of hemlock or aspen?
- Lighting mood: Bright and energizing or dim and meditative?
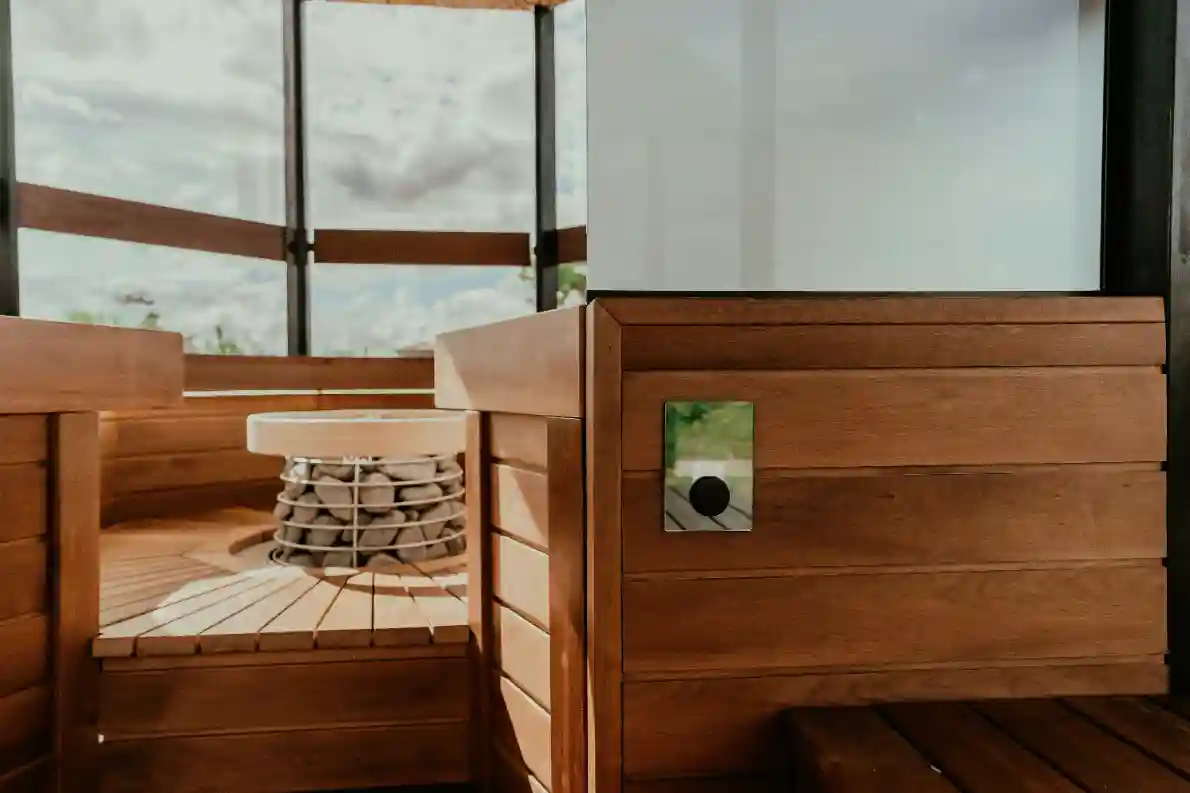
- Window options: A small window can provide natural light and views, though it increases heat loss
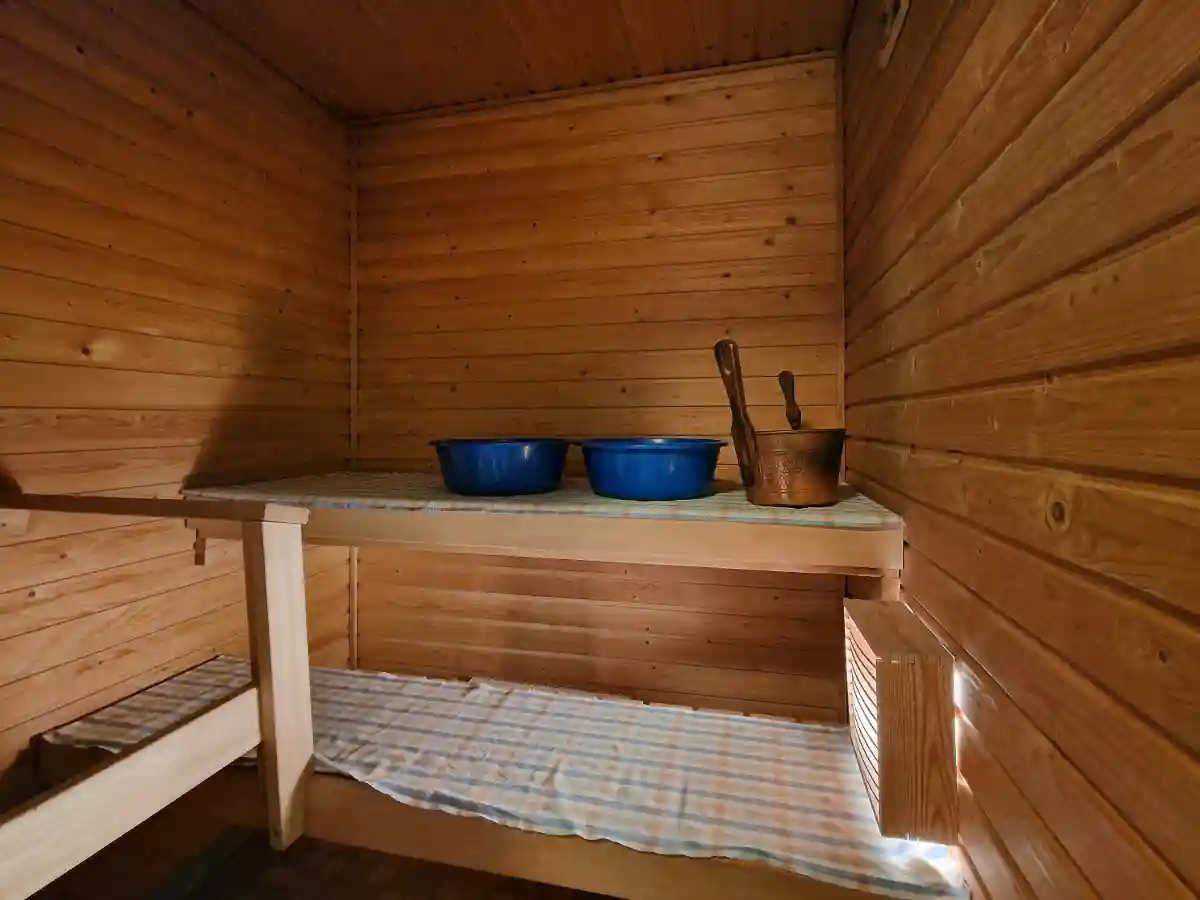
- Accessories: Backrests, headrests, bucket and ladle for aromatherapy, thermometer/hygrometer
Budget Planning
Understanding costs upfront helps you make informed decisions about where to invest and where to economize. Here's a rough breakdown for a 6x6 DIY build:
- Wood materials (paneling, benches): $1,500-2,500
- Insulation and vapor barrier: $200-400
- Heater: $500-1,800
- Door: $300-800
- Flooring: $200-600
- Electrical work: $500-1,500
- Ventilation and accessories: $200-500
Total DIY cost: $3,400-8,100. Professional installation adds $2,000-5,000 for labor, depending on complexity and your location.
Common Design Mistakes to Avoid
I've seen these mistakes more times than I can count. Learn from others' experiences:
- Undersizing the heater: Better to go slightly larger than smaller. An undersized heater struggles to maintain temperature and wears out faster.
- Skimping on insulation: You'll pay for it in energy costs and poor performance. Insulate properly from the start.
- Ignoring ventilation: A stuffy sauna isn't enjoyable. Plan for proper airflow.
- Poor bench ergonomics: Test bench heights and depths before finalizing your design. What looks good on paper might not feel comfortable in practice.
- Forgetting about maintenance access: You'll need to access the heater and electrical components eventually. Plan for it now.
Frequently Asked Questions
For a personal sauna, 4x4 feet is minimum (1-2 people). For family use, 6x6 to 7x8 feet works well (3-4 people). The ideal dimensions depend on available space and user count, but always ensure proper headroom (at least 6.5-7 feet ceiling height).
Cedar is most popular for its aroma and moisture resistance. Hemlock offers affordability with a light color. Aspen is hypoallergenic and stays cooler to touch. All should be kiln-dried, knot-free softwood. Avoid treated lumber or high-resin woods.
Insulation is critical for energy efficiency and performance. Use R-13 to R-19 insulation in walls and R-19 to R-30 in ceiling. Include a vapor barrier on the warm side to prevent moisture damage. Proper insulation reduces heating time and energy costs significantly.
Final Thoughts
Designing an indoor sauna is an exciting journey that combines practical considerations with personal preference. Take your time in the planning phase—every hour you spend designing will save you headaches during construction and create a better end result.
Remember, there's no single "perfect" sauna design. The perfect sauna for you is one that fits your space, meets your needs, stays within your budget, and feels like a place you want to spend time. Whether you're working with a compact corner space or have room for a luxurious installation, thoughtful design makes all the difference.
Start with the fundamentals we've covered here—proper dimensions, quality materials, good insulation, adequate ventilation, and smart layout. Get these right, and you'll have a sauna that serves you well for decades to come.