Building your own indoor sauna might sound intimidating, but I'm here to tell you it's more achievable than you think. I've guided dozens of homeowners through this process, and watching their excitement as they complete each phase never gets old. There's something deeply satisfying about creating your own wellness space with your own hands.
This guide walks you through every step of building a DIY indoor sauna, from initial planning to that first amazing session. Whether you're working with a kit or building from scratch, these principles and techniques will set you up for success.
Before You Start: Planning and Preparation
The difference between a smooth build and a frustrating one often comes down to preparation. Before you buy a single board or pick up a tool, let's make sure you're ready.
Assessing Your Skills and Resources
Be honest about your abilities. Building a sauna requires moderate carpentry skills—if you've successfully completed other home projects like building a deck or finishing a room, you're probably ready. The construction itself isn't overly complex, but it does require attention to detail, especially with insulation and vapor barriers.
You'll need access to basic power tools: circular saw or miter saw, drill/driver, level, square, and measuring tape. If you don't own these, consider whether renting makes sense or if a pre-cut kit (which minimizes cutting) would be better for your situation.
Understanding Building Codes
Before doing anything else, check your local building codes and permit requirements. Most jurisdictions require permits for new electrical work and sometimes for the sauna structure itself. I know permits feel like unnecessary hassle, but they ensure your sauna is safe and won't cause problems when you sell your home.
Call your local building department and ask specifically about sauna requirements. They'll tell you what permits you need and what inspections are required. Budget both time and money for this process.
Materials List: What You'll Actually Need
Here's a comprehensive materials list for a 6x6 foot sauna. Adjust quantities based on your specific dimensions:
Framing and Structure
- 2x4 lumber for framing (approximately 30 pieces at 8 feet each)
- Foil-faced insulation R-13 for walls (approximately 150 square feet)
- Foil-faced insulation R-19 for ceiling (approximately 40 square feet)
- Aluminum foil tape for sealing vapor barrier seams
Interior Paneling
- Cedar, hemlock, or aspen tongue-and-groove paneling (approximately 250 linear feet for walls and ceiling)
- Finish nails (2-inch stainless steel or hot-dipped galvanized)
- Wood glue (exterior grade)
Benches and Accessories
- Cedar or aspen 2x4s for bench frames (approximately 20 pieces at 6 feet)
- Cedar or aspen 2x4s for bench tops (approximately 12 pieces at 6 feet)
- Sauna door with frame (pre-hung recommended)
- Sauna-rated light fixtures
- Ventilation vents (2 adjustable vents)
Heating and Electrical
- Electric sauna heater (sized appropriately for your space)
- Heater mounting kit and guards
- Electrical wire and conduit (specified by electrician)
- Dedicated circuit breaker
Step 1: Site Preparation and Framing
Start by thoroughly cleaning your build area. You want a level, solid floor—concrete is ideal. If you're building on wood subfloor, verify it can handle the weight (typically not an issue for residential construction).
Building the Frame
Frame your sauna using 2x4 studs on 16-inch centers—standard wall framing technique. The key differences from regular room framing:
- Use treated lumber for bottom plates if installing directly on concrete. This prevents moisture wicking.
- Frame for your door opening accurately. Double-check measurements multiple times—cutting a new door opening later is frustrating.
- Plan heater location into your framing. You'll need blocking to mount the heater securely.
- Include nailers for bench mounting at appropriate heights (typically 18 inches and 36 inches from floor).
Take time getting your frame square and plumb. Every measurement you verify now saves headaches during paneling. Use a level obsessively—your walls should be perfectly vertical.
Step 2: Insulation and Vapor Barrier Installation
This is where many DIY builders make mistakes that haunt them later. Proper insulation is absolutely critical for an efficient, comfortable sauna.
Installing Insulation
Use foil-faced insulation with the foil facing into the sauna (toward the interior). This acts as both insulation and vapor barrier. Install it tightly between studs with no gaps or compression. Cut precisely around any electrical boxes or other penetrations.
For the ceiling, use higher R-value insulation (R-19 or R-30). Heat rises, and ceiling insulation works harder than wall insulation. Support it well so it doesn't sag over time.
Sealing the Vapor Barrier
This step separates okay saunas from great ones. Use aluminum foil tape (not regular duct tape) to seal every seam where insulation pieces meet. Cover any tears or penetrations. You're creating a continuous vapor barrier that prevents moisture from reaching your framing lumber.
Pay special attention to corners, around the door frame, and where walls meet ceiling. These transition areas are where moisture loves to sneak through.
Step 3: Installing Interior Paneling
Now comes the fun part—watching your sauna take shape with beautiful wood paneling. Whether you chose cedar, hemlock, or aspen, the installation technique remains the same.
Ceiling First, Then Walls
Always start with the ceiling. This allows wall panels to support ceiling panels and creates cleaner corners. Install tongue-and-groove boards perpendicular to ceiling joists, blind-nailing through the tongue at a 45-degree angle.
Leave a small gap (about 1/4 inch) between the last ceiling board and the wall to allow for wood movement. This gap will be hidden by your wall panels.
Wall Panel Installation
Install wall panels vertically—this is traditional and allows any moisture to run down rather than collecting in horizontal seams. Start in a corner, ensuring your first board is perfectly plumb. Every board after this follows the first, so getting it right matters.
Blind-nail through tongues, setting nails slightly below the surface. The groove of the next board will hide your nails. Use a scrap piece of paneling and a rubber mallet to tap boards tightly together without damaging the tongue.
Step 4: Installing the Door
Pre-hung sauna doors save enormous amounts of time and frustration. They come with the frame already attached, properly sealed, and ready to install. Position the door to swing outward—this is a safety requirement that ensures users can exit quickly if needed.
Shim the door frame carefully to ensure it's level and plumb. Check that the door swings freely and latches properly before securing permanently. Weather-strip the door frame to minimize heat loss—every gap reduces efficiency.
Step 5: Building and Installing Benches
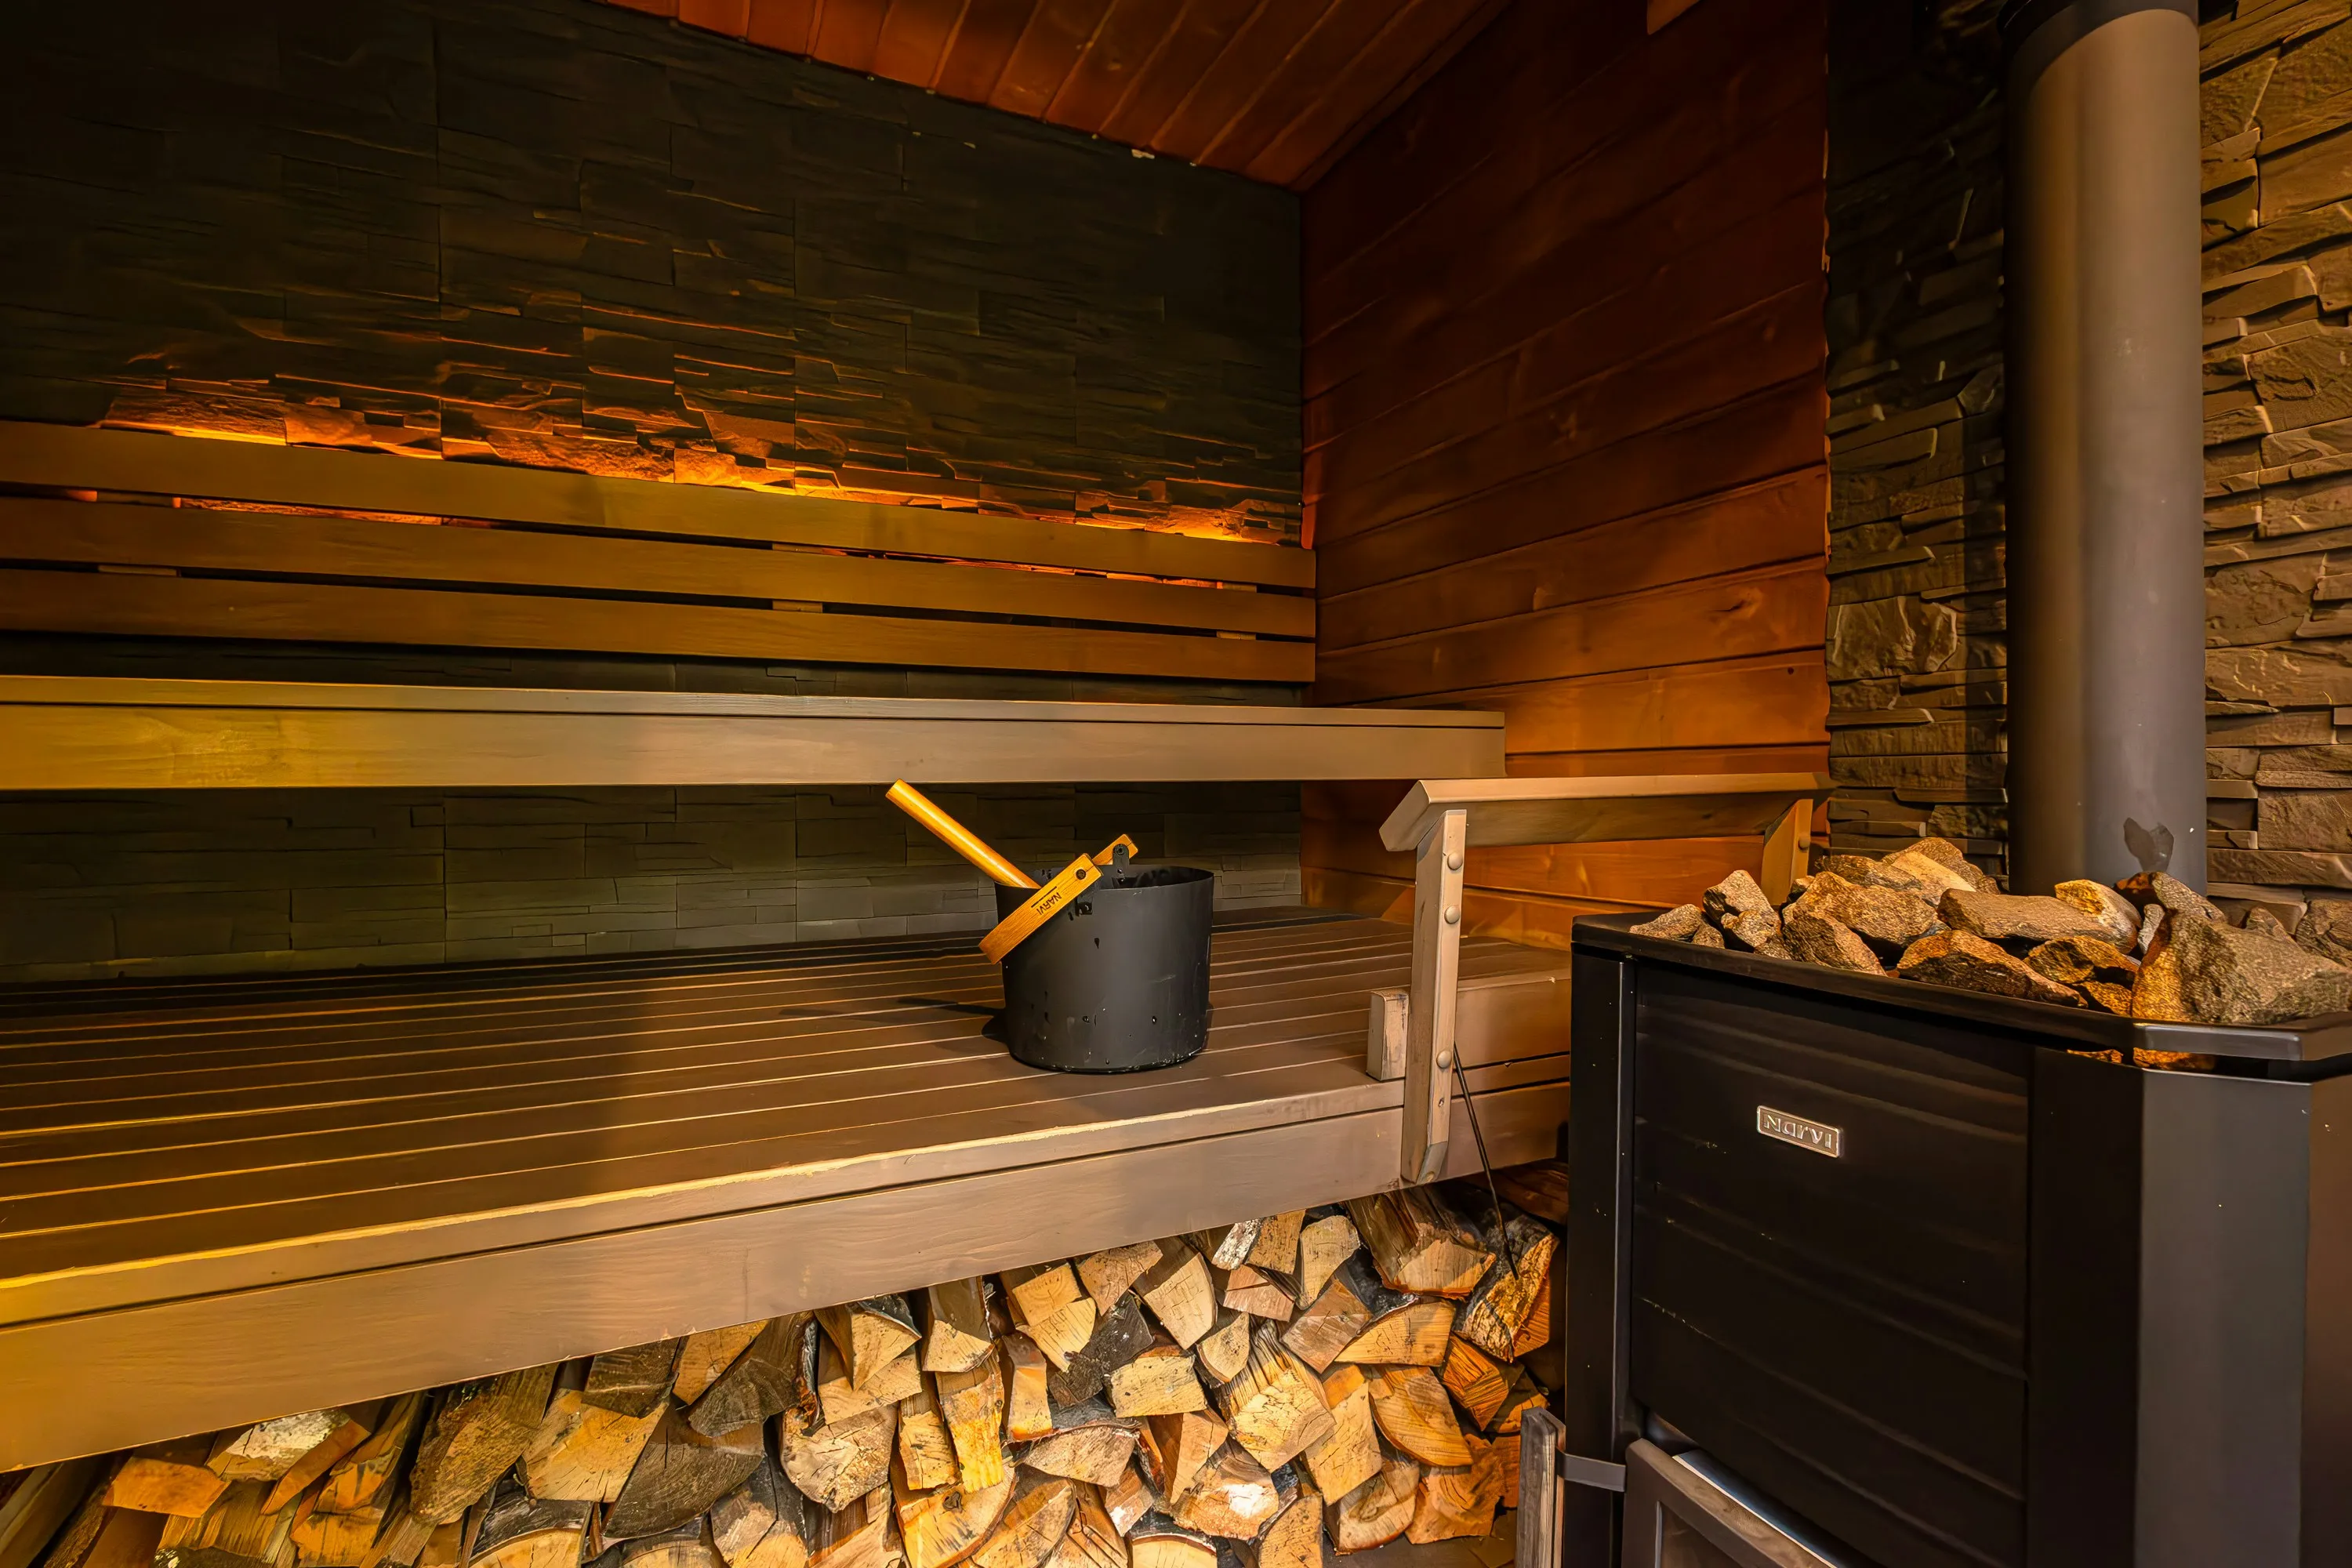
Benches bear your weight and need to be sturdy. Build them with proper support and attention to detail.
Bench Frame Construction
Build a frame from 2x4s attached to your wall nailers. Space support pieces every 16-24 inches depending on wood species and thickness. The frame should feel absolutely solid—no flex or movement.
Bench Top Assembly
Lay 2x4s across your frame with 1/4-inch gaps between boards. These gaps allow drainage and air circulation. Round all edges and corners with a router or sandpaper. Nobody wants to sit on sharp edges.
Attach bench tops with stainless steel screws from underneath whenever possible. If you must screw from the top, countersink screws slightly and consider adding wooden plugs for a finished look.
Step 6: Heater Installation and Electrical Work
This is where you absolutely need a licensed electrician. Sauna heaters draw significant power and require proper wiring, circuit breakers, and safety equipment. Attempting this yourself without proper knowledge creates serious fire and electrical hazards.
Heater Positioning
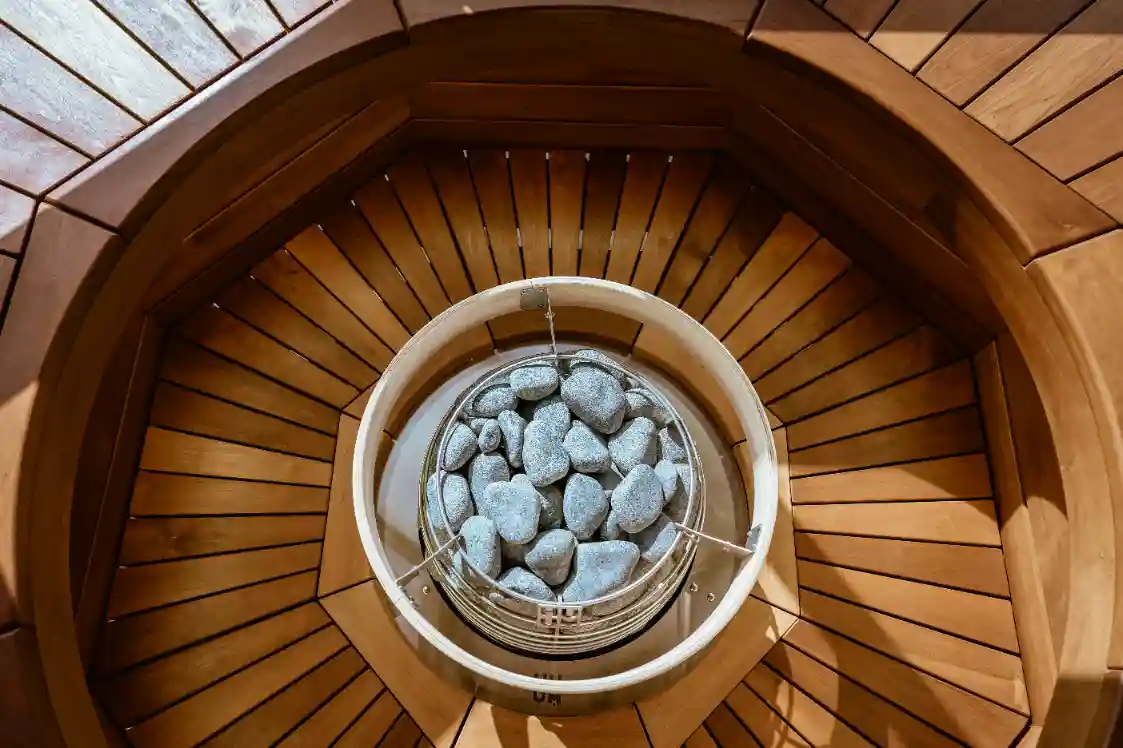
Mount your heater according to manufacturer specifications, typically 6-8 inches from walls and at least 18 inches from any bench surface. Install the protective heater guard to prevent accidental contact. Position the heater where it won't be bumped by people entering or exiting.
Your electrician will run appropriate wiring from your electrical panel, install a disconnect switch, and make all connections. They'll also install your sauna lighting and ensure everything meets code.
For those considering different heating options, exploring quality infrared heating solutions can provide efficient alternatives to traditional heaters, especially for home installations.
Step 7: Ventilation Setup
Install your intake vent near the floor, below or beside the heater. Install the exhaust vent on the opposite wall, either near the floor or through the ceiling. Both vents should be adjustable so you can control airflow.
The intake vent brings fresh air that gets heated by passing near the heater. The exhaust removes stale air and helps maintain oxygen levels. This gentle circulation makes your sauna comfortable even during extended sessions.
Step 8: Adding Finishing Touches
You're almost there! Now add the details that make your sauna feel complete:
- Lighting: Install sauna-rated lights in corners or above benches. Warm LED bulbs create the best ambiance.
- Flooring: If you haven't already, install tile or wood flooring. Ensure proper drainage if applicable.
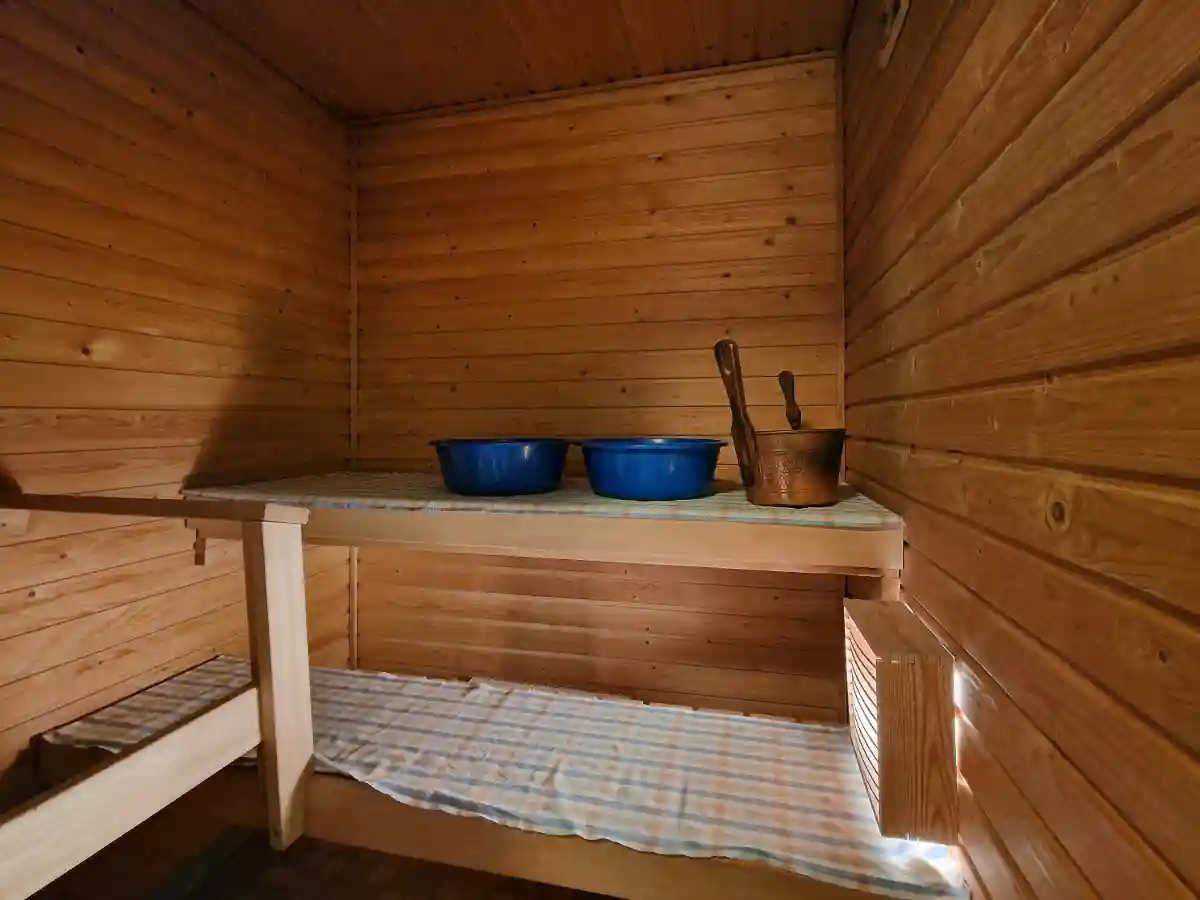
- Accessories: Add thermometer, hygrometer, bucket and ladle for water/aromatherapy, and backrests if desired.
- Final sanding: Go over all wood surfaces with fine sandpaper to eliminate any splinters or rough spots.
Step 9: Testing and Break-In
Before your first real session, do a test run:
- Verify all electrical connections are secure (electrician should do this)
- Check that door opens and closes smoothly
- Ensure ventilation vents are functional
- Run heater at low temperature initially, checking for any unusual smells or issues
- Gradually increase temperature over several sessions as wood acclimates
The first few sessions, your sauna will emit a pleasant wood aroma as it cures. This is normal and part of the break-in process.
Common DIY Mistakes and How to Avoid Them
Learn from others' experiences:
- Rushing the vapor barrier: Take time to seal it properly. Future you will thank present you.
- Using wrong fasteners: Regular nails and screws corrode in sauna environments. Use stainless steel or hot-dipped galvanized.
- Ignoring wood movement: Leave expansion gaps where needed. Wood moves with temperature and humidity changes.
- Poor bench spacing: Test bench heights before final installation. What looks good on paper might not feel comfortable.
- Inadequate ventilation: Don't skip vents thinking they're optional. They're not.
Maintenance from Day One
Start good habits immediately:
- Wipe down benches after each use
- Leave door open after sessions to allow drying
- Check heater area regularly for debris
- Vacuum floor weekly
- Monitor for any moisture issues or wood movement
If you're considering different locations for your build, check out our guides on basement sauna installations and bathroom sauna combinations for location-specific advice.
Frequently Asked Questions
Yes! With basic carpentry skills and the right guidance, building a DIY sauna is achievable for most homeowners. The key is following proper construction techniques for framing, insulation, and paneling. However, hire a licensed electrician for electrical work to ensure safety and code compliance.
A typical DIY sauna build takes 2-4 weekends (16-32 hours) for someone with moderate skills. This includes framing, insulation, paneling, and bench construction. Electrical work by a professional adds another day. Pre-cut sauna kits can reduce build time to 1-2 weekends.
Conclusion: You Can Do This
Building your own indoor sauna is an achievable, rewarding project that adds real value to your home and life. Yes, it requires effort and attention to detail, but the result—a personal wellness space you built with your own hands—is worth every hour invested.
Take your time, follow these steps carefully, and don't hesitate to ask for help when needed. The sauna community is welcoming and helpful. Start with proper design planning, gather quality materials, and work methodically through each phase.
Before you know it, you'll be enjoying that first satisfying session in your own handcrafted sauna. And trust me, that feeling of accomplishment makes it even more relaxing.

